THE U STAND
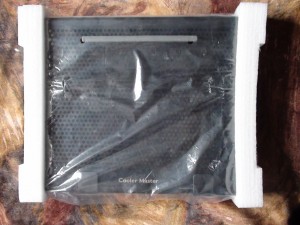
With the accessories out of the way, let’s get to the U Stand itself. It sports a nice perforated matte-black finish over a sleek aluminum base which is nice and cool to the touch:
Right off the bat, you will notice a grip-strip at the top of the U Stand. This can be stripped off and placed in different areas around the U Stand, and in a variety of positions:
At the bottom, there are two soft-grip anti-slip holders to keep the notebook in place:

 Turning the U Stand around to the back, we see the strip grommets, the stand assembly with four anti-slip grips, as well as dotted-lines:
The lines represent the area in which the two fans can be installed without having to move them for the stand assembly. If the fans are placed outside of the outline, the stand cannot fold and tuck into a portable position. The U Stand is still fully useable so that particular setup is best suited for an environment in which the notebook and U Stand remain static.
There is a black metal rod going the length of the U Stand, with four grooves on either side to snap it into place. Including the original groove in which the stand assembly is in its native resting position, there are a total of five heights that the U Stand supports:
The right side of the U Stand contains all of the controls and inputs. There is a power LED (which shines blue when on), a push-button on/off switch, a DC 5V input (adapter not included), a mini-USB port to connect the U Stand to the notebook, and a three USB 2.0/1.1 port hub:
The left side is empty, which I like since it means there is less cable-clutter:
The fans can be installed any which way one desires, except in a vertical position with one stacked upon the other. In that case, you would have to remove the strip grip in order to fit both fans going north-south:
Notice how handy the wire hooks come in. Cooler Master made the cable just long enough and placed the hooks in the right positions so the wire fits snug and firm going straight into the jack located behind the right side (where the controls and inputs are):
Although my laptops overheat in different sides, I decided to place the fans in their intended areas for testing. Let’s see how much of a difference the U Stand makes.
NEXT: Testing Methodology and Results
INDEX
Page 1: Introduction
Page 2: Features and Specifications
Page 3: Packaging and Contents
Page 4: Packaging and Contents (Continued)
Page 5: The U Stand
Page 6: Testing Methodology and Results
Page 7: Final Words and Conclusion
 The SSD Review The Worlds Dedicated SSD Education and Review Resource |
